Here is what my Utility Closet looked like before I organized it:

Clean Out Everything & Organize
Click here for the complete list of products I used for this project. I’ve wanted to do a utility closet makeover for years, but I kept putting it on the back burner. I continued to shove things in here, and it got so cluttered that I never knew where anything was or what products and supplies I was running out of. In January, I decided to focus on cleaning and decluttering; I wanted to start the year on the right foot and have a more productive year. I work from home, so it’s hard to focus when the house is a disaster. I planned to go through everything & throw out the trash, donate the things we no longer need but are in good condition, recycle what I can, and organize the rest.
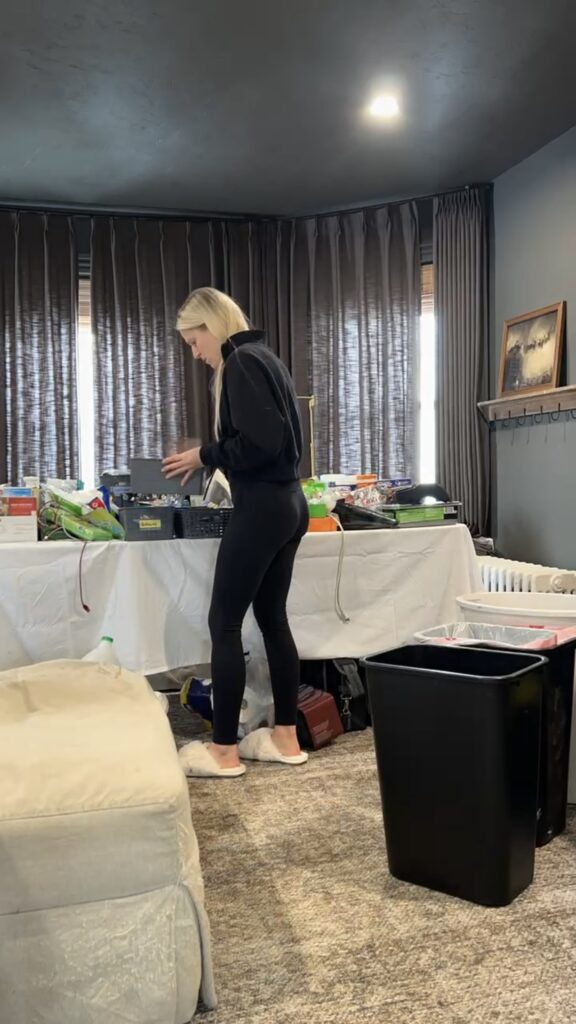
Change Direction & Decide to Paint
Once I started on the closet, I realized it needed more than a couple of organizing bins. So I decided to give it a complete makeover, using paint and a recessed light I had left over from other projects.
Watch Part One of my utility closet makeover on Instagram Here
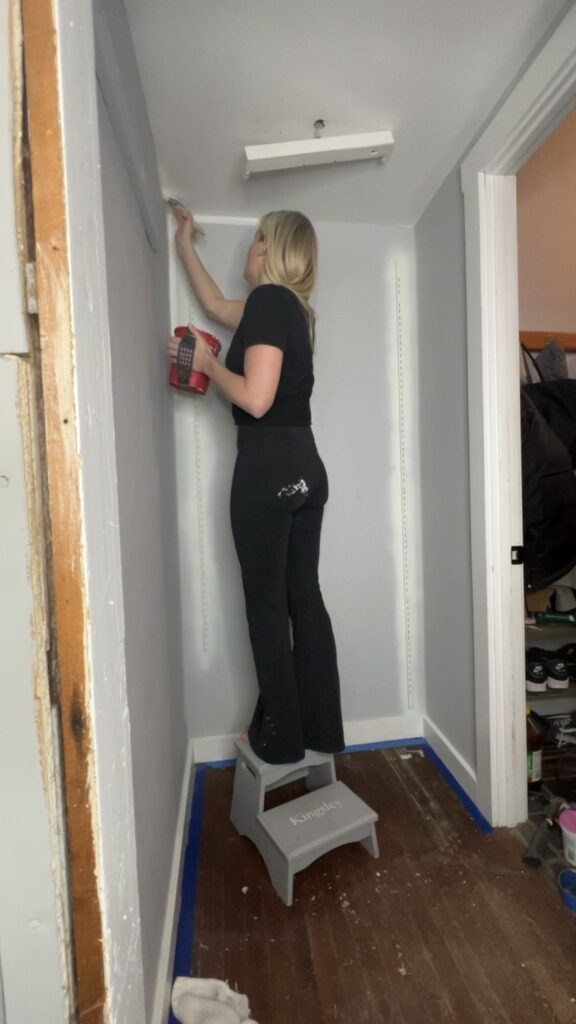
Prep & Paint
After I got everything out of the closet, I used some of this white spray paint, which I also already had in the basement leftover from another project, and sprayed the track that the shelves sit on. This probably isn’t a good idea; you’re not really supposed to spray paint inside, but if you do, make sure that you open windows and doors. Then, I painted the ceiling, walls, and trim with Benjamin Moore Swiss Coffee in a satin sheen, which I also had left over from another project, and got help putting in the recessed light.

New Shelves
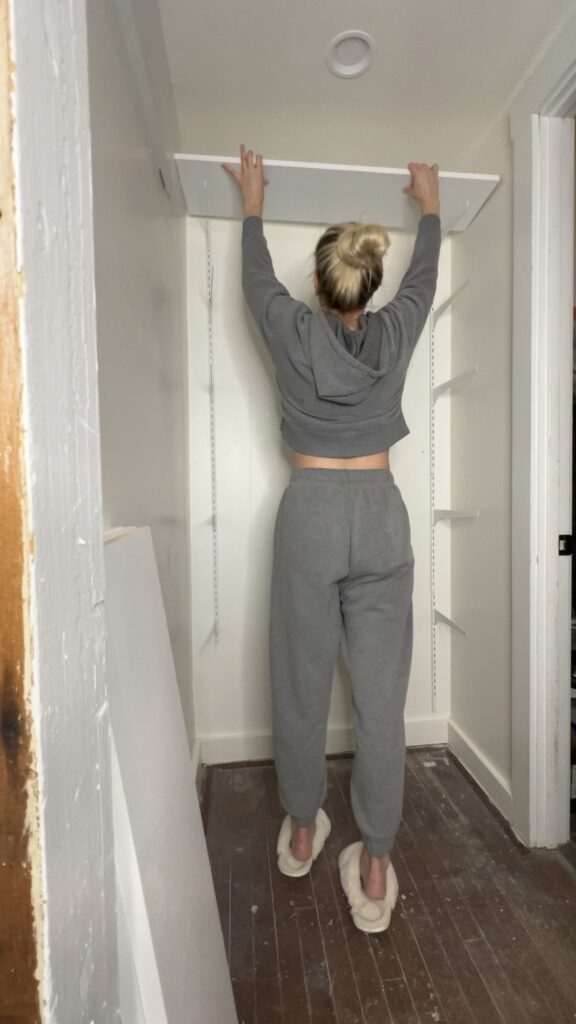
My initial plan was to use contact paper for the shelves, but it didn’t adhere well to the unfinished MDF. After wasting a roll and returning the second roll, I found the perfect solution at Home Depot. I purchased these white shelves that could be cut to the correct size. I chose not to paint the shelves for a few reasons. One, painting them would have meant I needed to allow the paint to cure for several days before putting things back on the shelves, and I did not want to leave all of the stuff sitting in my living room that long. Two, Eventually, the paint will get scuffed up again, and I’ll need to either repaint or get new ones anyway.
Watch Part Two on Instagram Here
Organizing The Bins on the Shelves
I am a visual person, so I never really know how I want things to look until I start laying it all out. I had no idea how many bins I was going to need, so I went I started by ordering this six-piece system, a four-pack of these narrow storage bins, and a four-pack of these large bin inserts. After I got them all organized on my shelves, I needed to order four more. Here is a complete list of all the clear organizing bins I used. I thought I would have to create labels for the bins with my Cricut, which I have had for over two years and never used. But I decided against that because not only did the recessed light make it so much brighter here, but the bins are clear, and you can see everything in them.
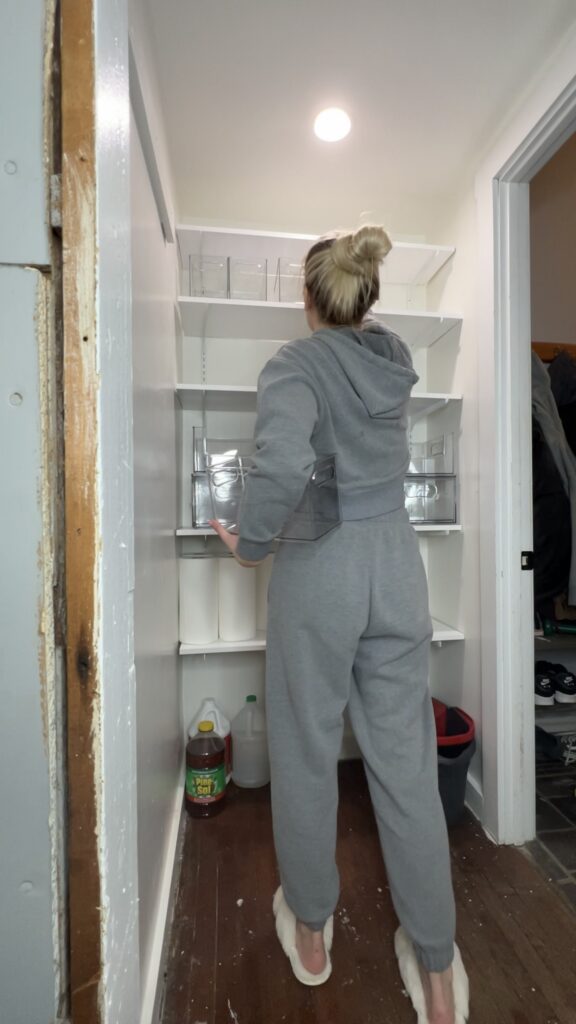
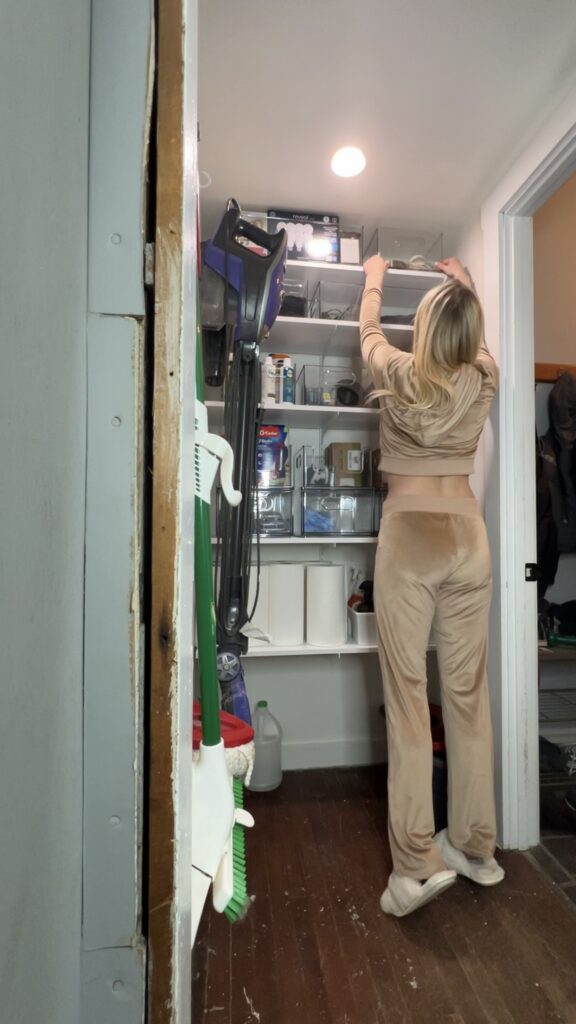
Watch Part Three on Instagram Here
The Finished Project
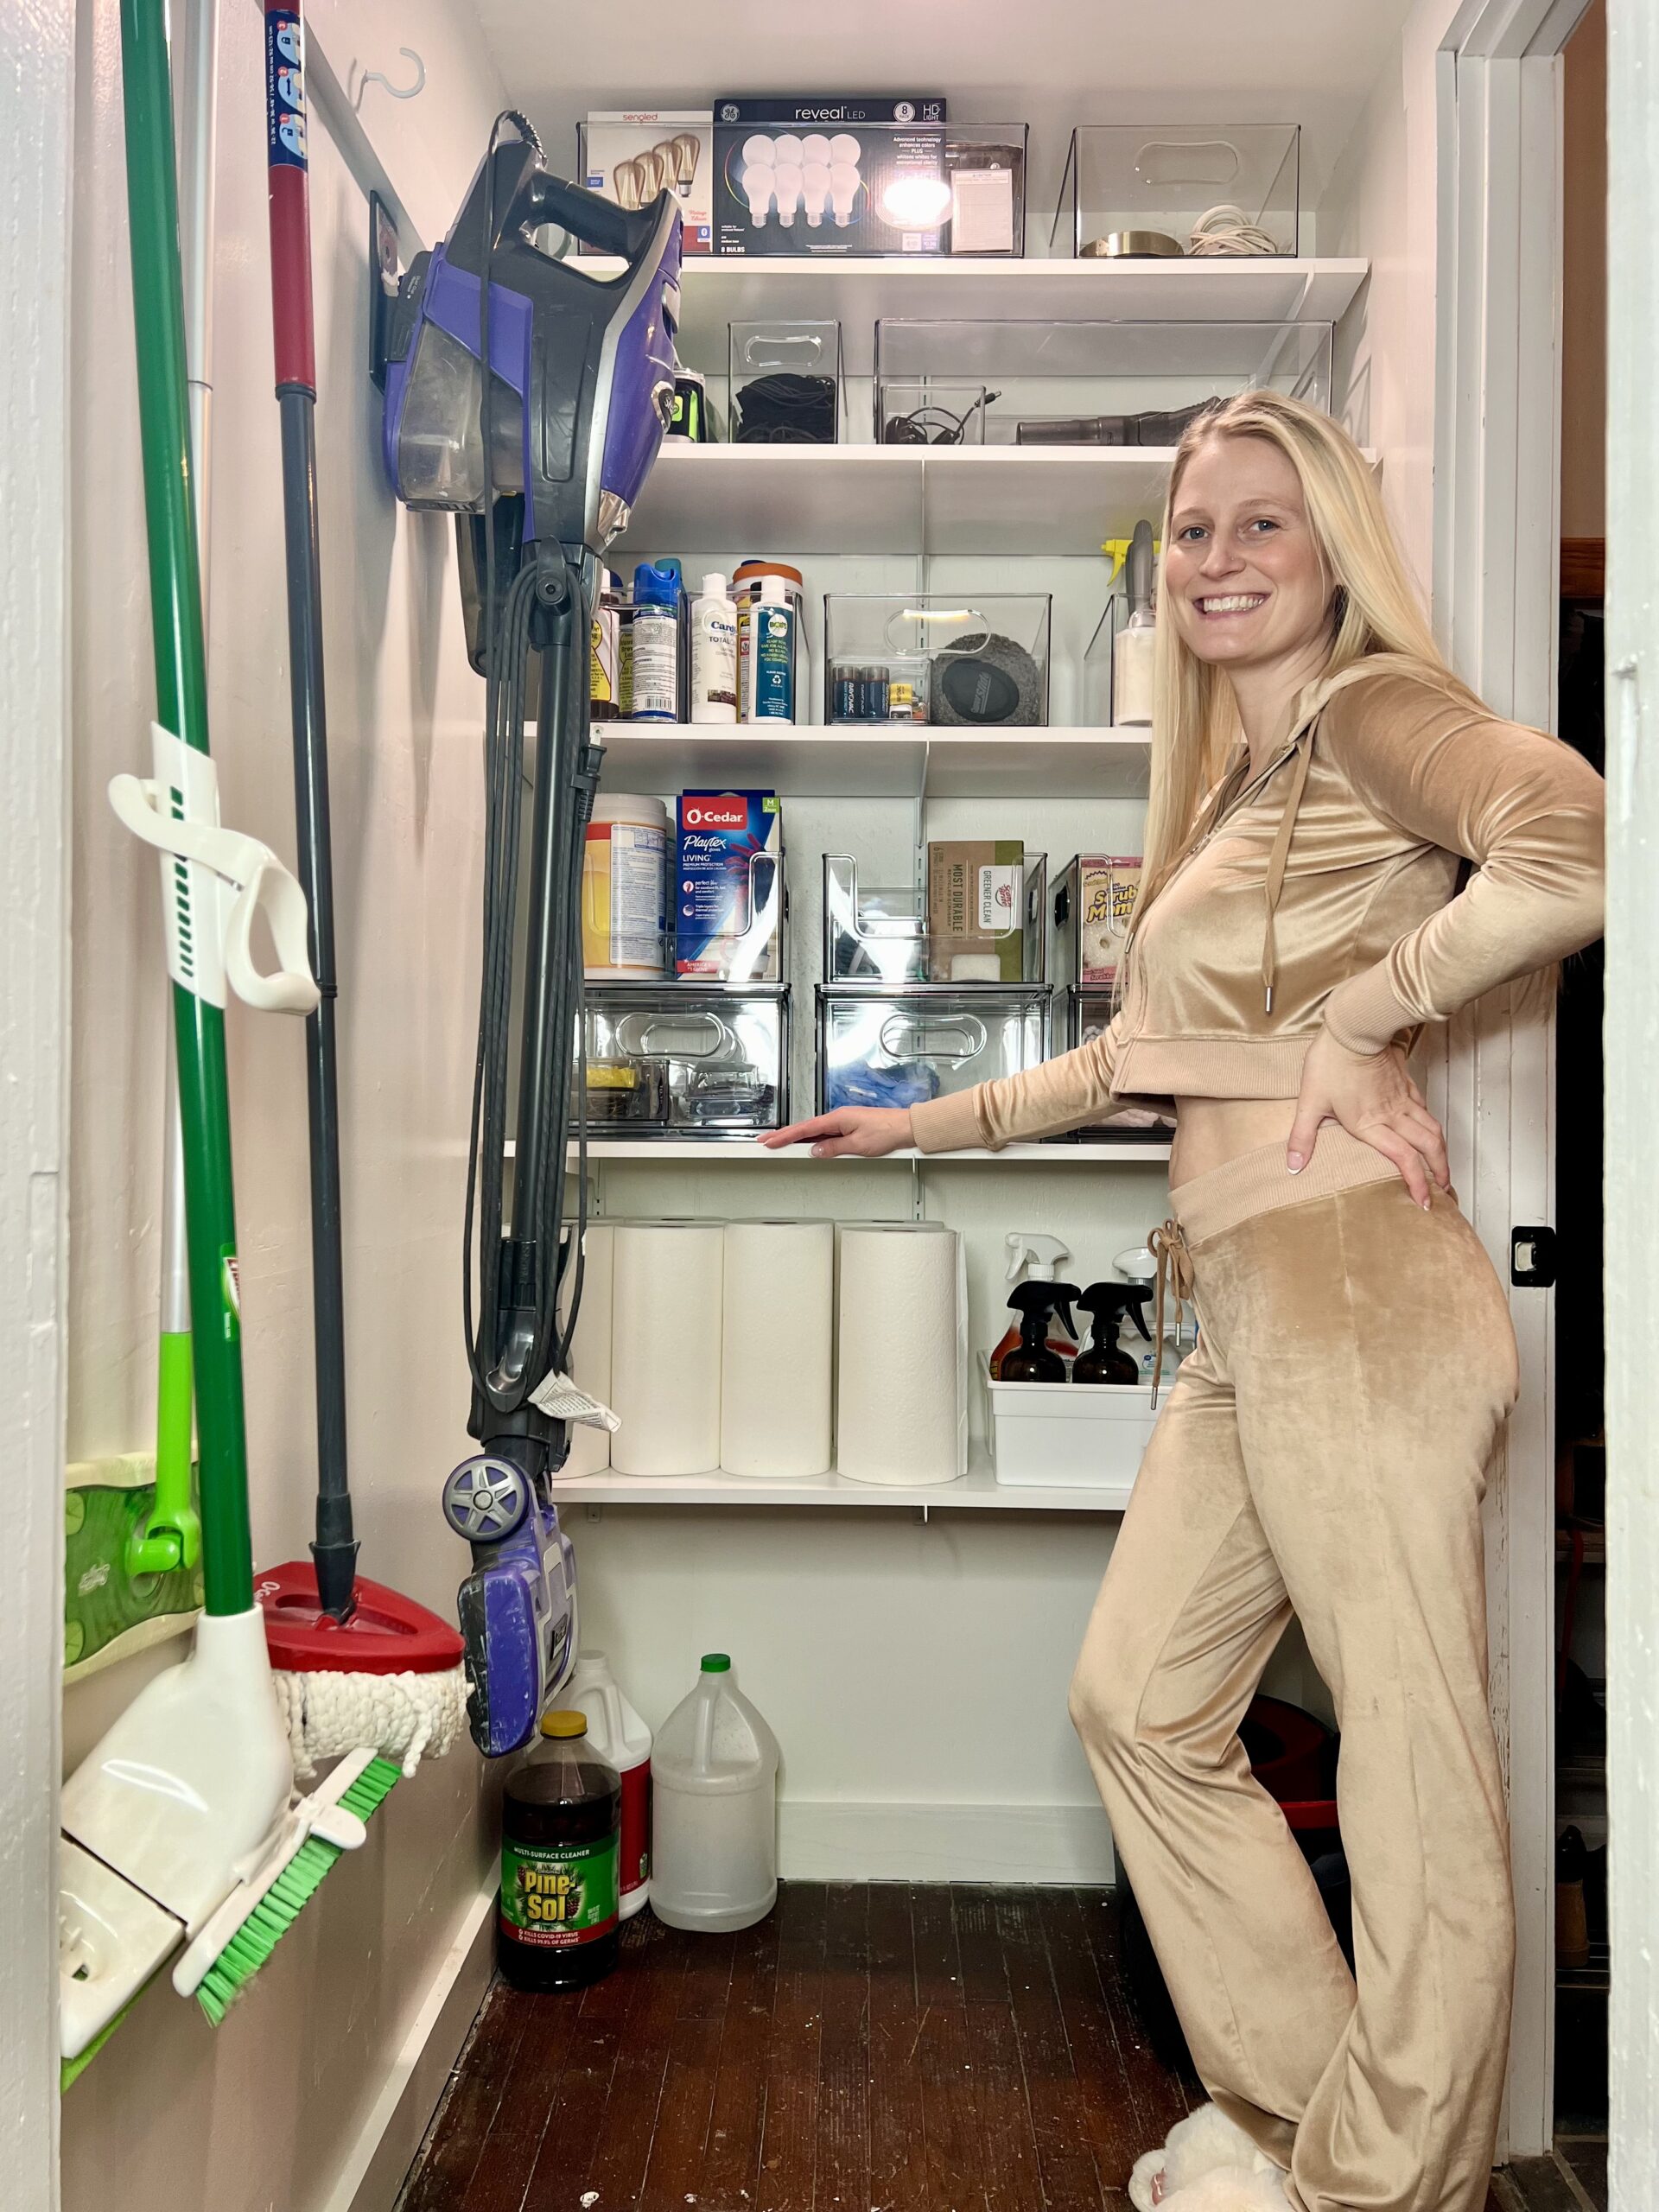
This entire project took me about three days, even though it took me over a month to post. Honestly, taking videos, editing, and sharing the content is the most time-consuming part of all of my projects. Now that it’s been completed for over three months, I can honestly say it was worth it. The clear organizing bins were a MUST. Everything has stayed organized (for the most part); I know where everything is & can see when I’m running low on supplies. My only regret is that I didn’t do it sooner.
Here is what my Utility Closet Looked Like After:

Watch the Final Part Here
I am always happy to answer any questions you have about my blog posts & services. You can check out my paint color consulting services here. If you want to contact me directly, reach out at hello@justhaleyhomes.com.

Some of the links in my posts are affiliate links. This means if you click on the link and make a purchase, I may earn a commission at no extra cost to you.
